
Here are 6 easy DIY methods to remove and add a new emblem on Ford trucks. You can do this at home, and it only takes a few minutes.
How to Replace Ford Emblem on F150 Tailgate? You can replace the emblem on F150 by removing the adhesive substance with a heat gun, mark the area, install a new adhesive emblem, and secure it with fender badges.
This logo is available in different sizes and materials. The ford logo badges are also mounted on the vehicle.
How to Replace Ford Emblem on F150 Tailgate?
The emblems are called logos, and Ford has a unique oval-shaped logo with blue and white colors. The word Ford is written in blue color.
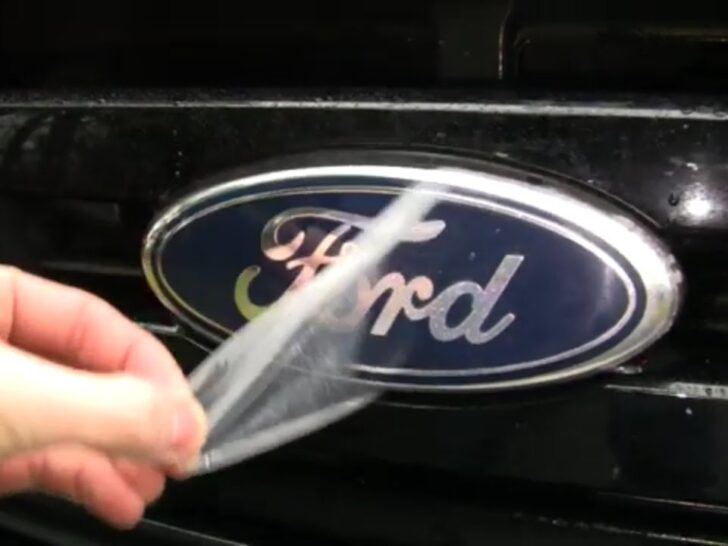
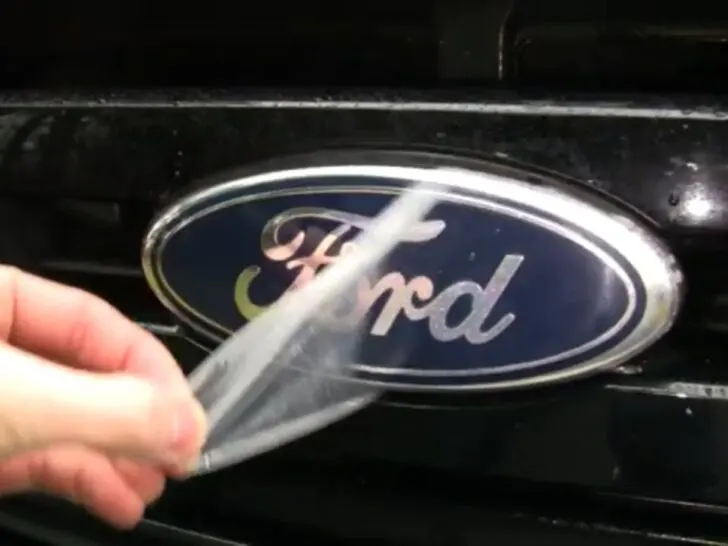
Remove adhesive emblem
In most cases, the adhesive logo is fastened to the side doors of the pickup. These plastic logos get worn out due to scratches and also become dull with time.
Before removing it, you should have a heat gun to apply some heat to it. You can also use a hairdryer for this purpose.
The heat is required to loosen the grip of it on the vehicle. Heat can quickly melt the adhesive gum on the inner side of it.
Blow the hot air gently o it. Keep blowing the air until it loses its grip. When it is free, then remove it by pulling away from one side.
Another simple trick is to use some flat head tool to tear it. You can use any thin wire or dental floss to do it.
Both can easily pass through the bond between the surface and the badge. Try to run it by moving the wire back and forth. When the adhesive paper leaves its side, pull it away with your hands.
Remove pin fastened emblem
The tailgate and guard grill have fender badges as their logos. Removing them is a technical job.
You will need a screwdriver compatible with the size of the fasteners to remove it. These logos are fastened to the automobile through pins inserted inside the body.
Properly check the type of fasteners holding the badge. Make your hands secure by wearing safety gloves and a jacket.
To remove it, you should have access o the interior of the body. Remove the grill and expose the screws and bolts of it.
Then unscrew all the bolts from their place. Usually, it is held at its place by 2 to 3 bolts. Open all of them one by one.
After this, remove the badge with your hands. When clips are holding it, then open them by moving them to the opposite side. It will lose its grip, and you can easily remove it. You can also use this technique to add a new front turn signal bulb in your pickup.
Purchase new emblem
First, you should purchase a high-quality logo. Different auto repair shops sell them. You can buy them at affordable prices. Buy those which are compatible with the size and weight of the previous one.
An average product weighs 4.5 ounces, and its length is 9 inches. Both adhesive and clip badges have the same size.
Always weigh and measure the length of it before buying. The fender badges come in a variety of colors like silver and black. Choose the color according to vehicle color.
You need to buy one for a tailgate, one for the grill, and two adhesive logos for drive doors. These are common places where these are attached to your vehicle.
The cost of then lies between $50 to $3500. This depends upon the size and material used in their manufacturing. Add a toolbox in the truck bed and store all the accessories in it.
Mark the area
Marking is essential to specify the area where we will fix it. Before marking, you should clean the surface.
Some glue is usually left on the surface when you remove the adhesive substance.
You should use any glue remover to remove it.
First, scratch the excess glue with a knife. Then apply a cleaning agent and wipe it with water. You can also use spirit to get rid of stubborn glue.
Then take a dark marker to mark the area. Make prominent dots on the points where it will attach. In the case of the badge, the hole of screws is already present at the site.
Sometimes the paint of the surface gets stick to the adhesive paper. You can also apply a thin layer of paint to it. It will work as a barrier to prevent corrosion.
Install new F150 Emblem
Its installation is an easy task. First, take it and remove dirt from its surface. Then tear a small portion of adhesive back paper from it.
Then place it on the marked area carefully. Place it properly so that the edges meet the marked location. You can also apply some extra glue on the surface to stick it in place.
When this portion has fully adhered to the surface, then tear all the paper from it. Then attach the remaining side to the area.
Rub it with your hands to entirely stick to it on the vehicle. You can use any spatula to smooth its surface.
Keep in mind during this step; no air bubble should entrap behind the logo. It can decrease the aesthetic appearance of it, it can get small folds due to air. Remove plastic lamination from it after pressing it on the surface.
Install Fender Badges
It contains two to three pins on the backside, and you can firmly press it after inserting the pins in the holes present at the side.
Place it on a marked area and fit it, applying pressure on it. In the case of screws, you will need bolts and a screwdriver.
Place it on the surface and screw in all the bolts to fix it there. Tighten the nuts of bolts carefully so that they will not lose their grip. When the clips are present, turn the gripping side of the pins to hold them in place.